Well hey there everyone and welcome to yet another blog post. I must find out how long this blog has been running now, but I think it’s somewhere in the neighbourhood of 2 years. Who said I didn’t have any staying power? Shame on you!
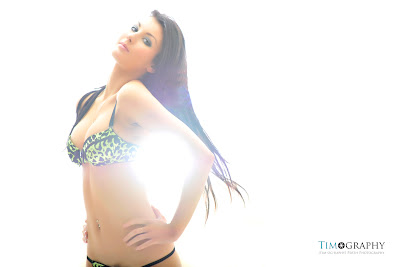
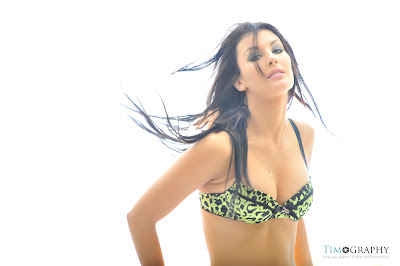
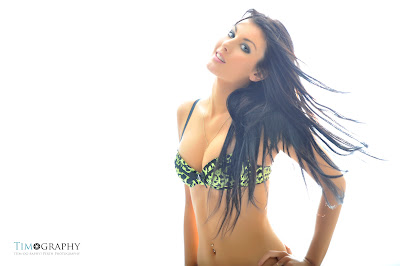
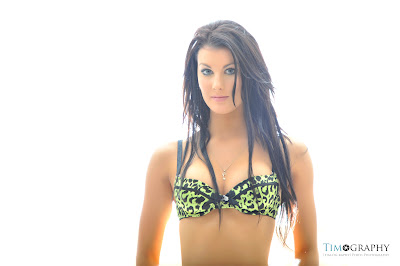
The purpose of today’s blog post is to share some images that I did recently for a long-time friend, Serena. She has been a great help over the past four or so years, and is always eager to help out when I need a model at short notice for a shoot. I had just finished watching the wonderful “One Light Workshop” DVD’s by the uber talented Zack Arias. As the name of the DVD’s implies, there’s about 3 ½ hours of lighting instruction using only one light source – but in multiple applications. Studio lighting. Location lighting. Day or night. Zack is da man!
Anyway, one of the examples he showed in the latter part of the first DVD was the technique that produced the images I shot for this blog post. It involves creating a high-key look using only one light source. Those of you who know me know that I love to use high-key lighting. I love the way it makes the subject leap out of the image. I love the crispness and the contrast it creates. I just love everything about it. But, like anything it can get a little bit too much after a while. So I was pretty stoked when I saw Zack demonstrate this technique. The end result is that it still, obviously, creates a high-key image, but because of the positioning of the light you can create some really cool lens flare and also it makes the subjects skin go all creamy and delicious.
It basically involves placing a single studio light directly behind your subject. The catch is however is that the flash tube must be exposed, and not hidden by any kind of light modifier. This also means that you really can’t use a speedlight to create this effect, as it isn’t going to throw enough light in enough directions all at once to pull it off successfully. If you haven’t already, have a look at the video below which shows the whole set-up from go-to-woah. Sorry that the audio isn't all that great - my eBay special video camera doesn't have any audio-in jack meaning that I just have to use the built-in microphone and speak in a loud voice. This works well when I'm right next to the camera, but as soon as a walk away from it things go a little pear shaped. Anyway, enough excuses from me, take a look at the video...
One more thing – and one that I touched on in the video. You really have to be careful with your lens selection with this. Let me qualify what I mean. You really have to use the best lens that you have. This is because better quality lenses utilize all manner of glass witchcraftery to aid in the reduction of lens flare. And this is one lighting set-up that produces a lot of flare. A lot of cheaper lenses really don’t deal well with back-lighting. The biggest degradation occurs when the entire image looks washed out and pale. The tell-tale “rainbow spots” are another sure-fire sign of lens flare, but these can sometimes look quite cool.
But there ain’t nothing nice about a pale, washed out image. You can recover a lot of contrast in post production, but if the image is too far gone to begin with, there isn’t going to be a lot to gain by trying to fix it. A bad image is a bad image. I was using my Nikon AF-S 70-200mm f/2.8G ED VRII and I was still struggling with a few images having too much flare. Point made...
So there you go. Nice and simple set-up that creates really cool images. This one is going to be on my play light for a little while to come. That’s it for now. Keep shooting what you love and I’ll talk to you soon.


No comments:
Post a Comment